Preamble:
As a cybersecurity professional and/or red teamer, you might find yourself inside the physical perimeter of your client. This could be because you are invited in, or because you social engineered your way in.
In this blog post series, I will discuss some potential attack avenues you could take should you ever be in a position where you can access computers physically. This blogpost series will NOT go in details on how to test physical perimeters, I am not going to teach you how to break into facilities, sorry!
Part 1 of this series will cover some hardware requirements that might prove to be useful in your endeavor and how to prep your tools in order to do the job efficiently.
Toolset
A good spy security consultant comes well prepared and with the right tools for the job. Let’s go over some of the tools you might end up using in your engagement:
A good screwdriver set

In order to perform some of the attacks, a trusty screwdriver set can prove useful in your arsenal. For example, to extract the hard drive out of the computer/laptop.
Wireless NIC ( + WI-FI Hotspot)
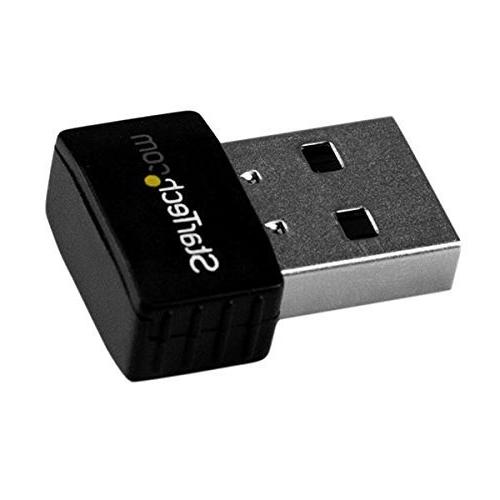
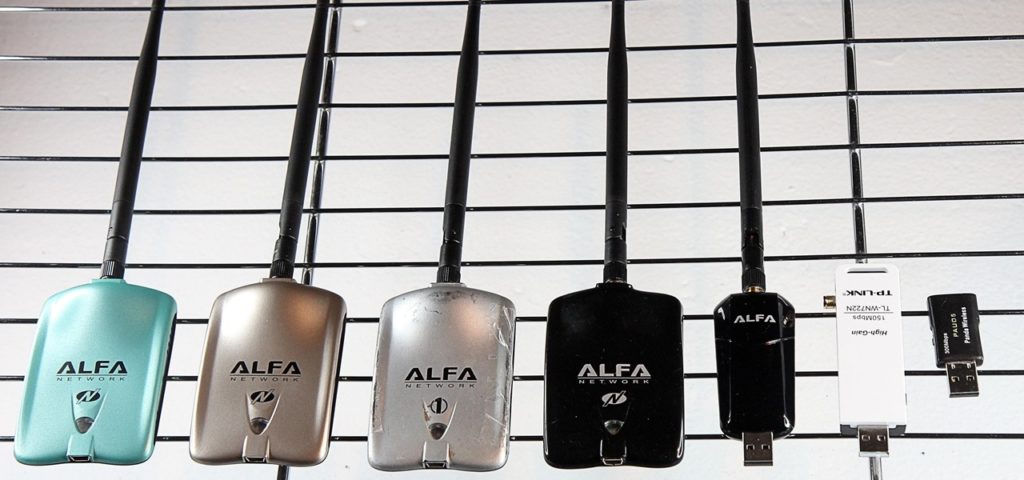
Wireless NIC’s come in all shapes and sizes, pick one according to how low profile you need to be during your engagement. These things come in handy when you are dealing with internet restricted hosts. Plug one of these in, set up a mobile hotspot, and …, you’re good to go*.
* You might need to change DNS/routing tables on the host, more about that in a later blogpost!
Live USB + (optional) spare USB’s

Again, depending on your goal you might want to masquerade your USB stick. a Live boot Kali with persistence would be ideal. (more about how to create one of these in a later blogpost)
RJ-45 cable(s)

You will probably need to at lease have one of these to plug in to a LAN port 🙂
(optional) HDD docking station + (optional) spare hard drive(s)
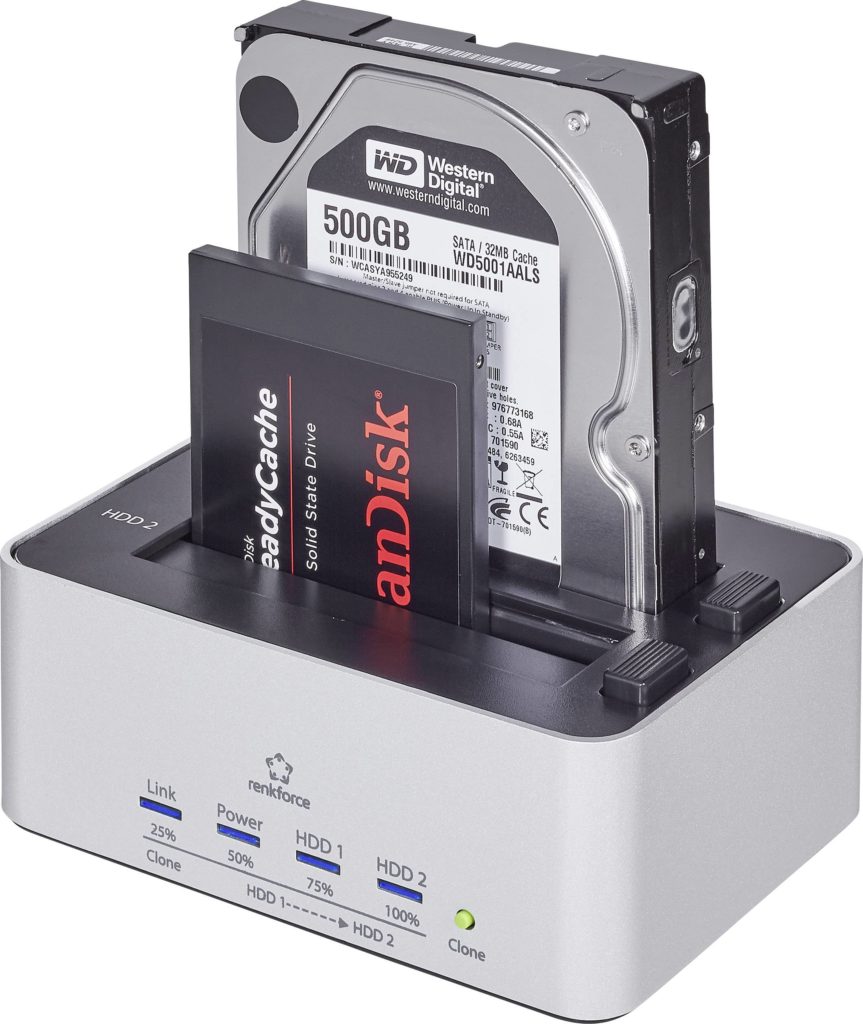
As with wireless NIC’s, there are a ton of different docking stations for sale. Some of them have built-in cloning capabilities. These come in handy in case there is BIOS protection, but no bitlocker.
(optional) Key-logger(s)

Depending on the assessment, key-loggers might be considered “in-scope”. These also come in all shapes and sizes, I prefer small key-loggers with WIFI capabilities. This way you can place them and monitor them in real time, instead of needing to do an “extraction” round. This is also more OPSEC, as you can leave this in for the entire duration of the assessment.
If you do decide to use these, please change the default SSID as it’s a dead giveaway.
(optional) Hak5 gear
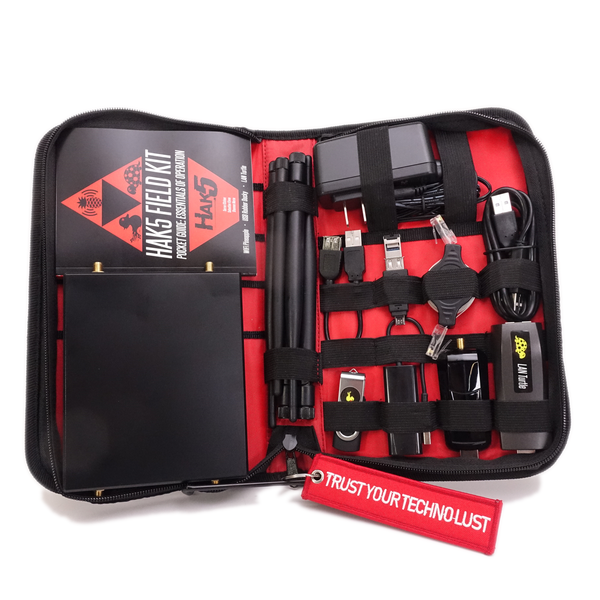
The people over at Hak5 are basically specialized in creating tools for this kind of assessment, they are definitely worth checking out! My personal favorites are their rubber ducky and their O.MG cable. The Shark Jack looks cool too, but I haven’t used that one yet.
Conclusion
In part 1 of this blogpost series, the toolkit is laid out for physical attack scenarios.
Part 2 of this series will explain more about making a persistent Kali bootable USB and how to conduct pre-boot attacks using the USB key, the docking station and PXE booting.
Be First to Comment