
TLDR: We are gonna look at using C to determine the process architecture of a remote process by parsing the NT headers machine field. If you know about C or PE headers already, this blogpost will not be useful to you. Carry on 1337 h4xx0r! If not, enjoy the post!
Preamble
HAS THIS EVER HAPPENED TO YOU?
You are writing code in a high level language and think to yourself, well that’s easy! Am I happy that I can write code fast and efficiently, just to find out that you actually need to jump trough a lot of hoops to get your code to work with WIN API’s? Yes I am looking at you D and P/Invoke function prototyping and Marshalling…
Or maybe you found out that your code is super easy to reverse if you don’t use any obfuscation and you might have to deal with more defenses such as AMSI and other defensive solutions that can deal with high level languages easy?
Or maybe you wanna dev some cool exploits or read some cool blogposts from people like Adam Chester or James Forshaw and you realize that 99% of the code you read is in C (or C++)
Or you are a C2 developer or researcher and you figured out that implants are written in ASM/C sometimes C++ …
Whatever the reason may be, if you are an offensive tooling developer, chances are high that at one point in time, you will have to deal with C (or god forbid assembly, but that is for another blogpost… somewhere… sometime).
There are three things you can do at that point:
1. Go cry in a corner
2. Find “solutions” to avoid writing C such as Nim… Yes Cas I am looking at you…. *smh*
3. Power Down, face your fears, and just learn C
In this (already lengthy from the preamble alone) blogpost, we will take a look at writing a program in C with a somewhat practical use case in combination with some winternals – so whether you are here to learn about C or you just wanna learn about some cool Windows Jazz, read on!
Setup
To write C you are going to need a compiler (and an IDE)
If you are a Windows user, I recommend Visual Studio Community
For Visual Studio Community you can either install “Individual Components” or “Workloads”
If you are like me and just yolo, you can just select “Desktop development with C++” and that will install everything you need.
You can select the individual components you desire, make sure you have components for your processor – I would install MSVC x64/x86 build tools (Latest) which should be enough to get you on the way – But you won’t have the nice “console app c++” option in your Visual Studio, so I wouldn’t recommend going that route, you will only make it hard on yourself 😛
If you want to use VS Code, I recommend using the following official tutorial: https://code.visualstudio.com/docs/cpp/config-mingw
If you are a Linux user, I recommend Visual Studio Code, again a tutorial is available here:
https://code.visualstudio.com/docs/cpp/config-linux
If you are on a Mac, well… figure it out, I don’t have my Macbook yet 😛
Before you panic, Yes I am aware these tutorials mention C++ and we are going to write C … That is fine, don’t worry about it the installers also work for plain ‘ol C.
If you are one of those people that like to code in VI, Nano or even notepad, the only thing you really actually need is the compiler (gcc) or the visual studio build tools.

Alrighty, the next few sections of the blog will be a choose your own adventure, I will show you how to create a C program, yes C. On both Linux and Windows Operating Systems.
Hello World! – Visual Studio Community AKA Windows
If you open Visual Studio you will be greeted with the following screen:
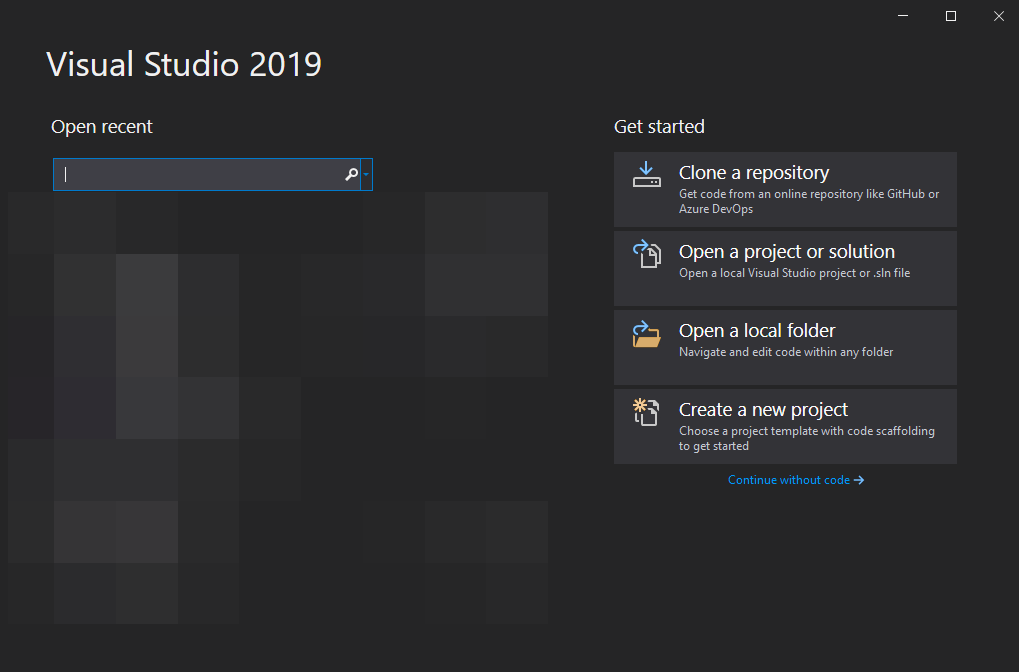
Select Create a new project.
If you followed my advice and installed the desktop dev workload in Visual Studio, you will have a Console App C++ option. Yes I am aware it says C++. Click it anyway!
The next screen will ask you to give a name to the project, just name it whatever u want for example HelloWorld.
You are then going to be greeted by this ugly thing:
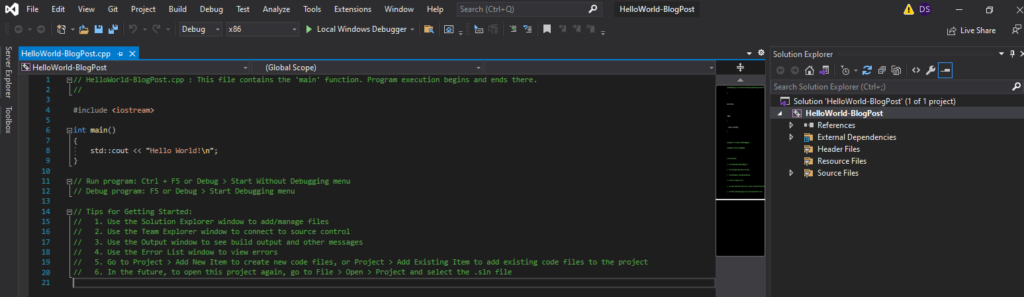
That is C++ All right…
On the right hand side, click the Source Files arrow (if the right hand side doesn’t look like the screenshot click on view -> solution explorer or use Ctrl+Alt+L
There will be 1 file in there with the .cpp extension, let’s change that up to .c instead.
Et voila ladies and gentlemen, we have now magically willed our cpp project to a c project!
Of course, we will need to change some things because C does not have these fancy “::” extensions like “std::cout”
So now we have an empty int main() method. if you remote the #include <iostream> from the top line and would compile the program – in visual studio community press the green arrow, it would actually run! Amazing you just compiled your first C program.
Hello World! – Visual Studio Code AKA Linux
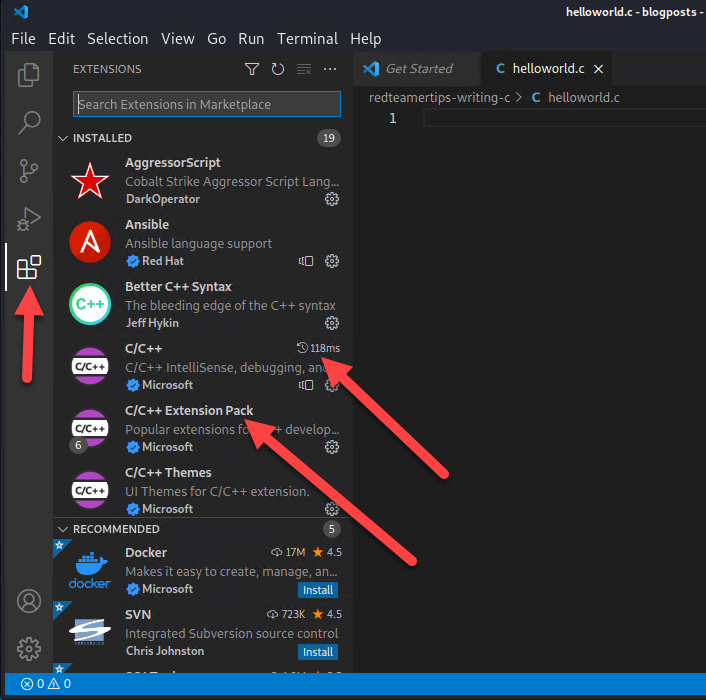
If you installed Visual Studio Code you can go to the “extensions” tab on the left and from there select extension you like to install. I recommend installing C/C++ and the Extension Pack from Microsoft.
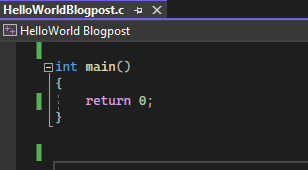
Once those extensions are installed go ahead and open or create a folder and add a new document called helloworld.c and a new document called person.h (we will use that later).
in helloworld.c lets for now simply type the following code:
int main(){
return 0;
}
Alright, now we can compile this program! But wait.. There is no green button anywhere or no build functionality?
We can open a terminal and go to the location of our helloworld.c file and simply type
gcc helloworld.c -o helloworldThis will create a new executable file on Linux which u can then run using ./helloworld but not much will happen.
The gcc compiler will always generate ELF files this way, which means that programs compiled this way will run on Linux machines but not on Windows. To compile for windows you will need to have mingw installed.
for example on ubuntu
sudo apt-get install mingw-w64This will allow you to cross compile to a Windows executable.
Cross compiling will be dependent on the target architecture as the commands vary:
For 32-bit (x86):
i686-w64-mingw32-gcc helloworld.c -o helloworld.exe
And for 64-bit Windows:
x86_64-w64-mingw32-gcc helloworld.c -o helloworld.exeYou could tweak your VS Code to run these compiler commands so you dont have to do it from the command line all the time, I will leave that as an exercise for the reader.
A pro tip is to run the “strip” command on your binary after compilation to remove debug symbols from the binary when creating offensive tooling.
Headerfiles

C as a language is classless and unmanaged, which means that everything we want to do needs to get defined by us somehow (this includes to some extent, memory management tasks, which normally would be taken care of for you using constructors and destructors and garbage collectors). In order not to clutter your source code with definitions C uses header files as an abstraction layer to decouple definitions from your main source code. you can then include these definitions using the #include statement. Your compiler comes with a lot of bundled header files already such as windows.h which includes a lot of function definitions for Windows API calls.
Bundled headerfiles can be included using #include<somefile.h> statements, but you can also create new header files yourself, which you can then include using the #include “somefile.h” statement.
Sometimes header files include other header files (headerfile seption!). This is completely “legal” but if functions get redefined, your compiler will complaint to you. This is why it is best practice to put #pragma once on top of your header file. This tells our compiler hey dude, check if you already have these headerfiles, if you do, ignore them, if not, use them. That way, you avoid function redefinitions by including the same header file multiple times.
Let’s take a look at a practical example… Hello WinAPI time!
Hello WinAPI
For this simple example, I will continue to work in VS community, the methodology now is practically the same in both dev environments only the way to compile varies a little bit. I have shown you in the Linux example how to compile your C program so just follow those steps again for this example also.
Let’s include the windows.h headerfile (#include <windows.h>) at the top of our code file.
Suddenly we can use Windows API calls now! Amazing right?
Let’s create a simple messagebox. Most Windows API calls have a A and W variant. This is to distinguish between ANSI and Wide characters. (regionalization ftw)
#include <windows.h>

int main()
{
	MessageBoxA(NULL, "hello from winapi", "C is dope", MB_OK);
	return 0;
}
Compiling this would result in the following super elitist code being executed:
As I already said, C is classless but we can still pack different properties in 1 container, called a structure. Here is an example of a structure:
struct Person {
	char Name[200];
	char LastName[200];

};
We can create a new header file (person.h) and put the structure in there.
If you are following along from Windows just right click on the “Header Files” folder in the solution explorer on the right hand side and select new… then select header and name it person.h
now if we include the person header file in the c code (#include person.h) we can utilize our newly defined structure.
#include <windows.h>
#include <stdio.h>
#include "person.h"


void PrintPerson(struct Person *p)
{
	printf("%s ", p->Name);
	printf("%s ",p->LastName);
}

int main()
{
	struct Person p;
	char *name = "Jean-Francois";
	char *lastName = "Maes";
	strcpy_s(p.Name,sizeof(p.Name), name);
	strcpy_s(p.LastName,sizeof(p.LastName), lastName);
	PrintPerson(&p);
	return 0;
}
Now there is a lot to unpack here, don’t run away just yet I will try to explain what’s going on here.
In the main function we have now created a structure Person p that is described in our header file. In the backend what happens is that now memory on the stack gets allocated to accommodate for this structure .
We have also created two character pointers (char *) one to store the first name and one to store the lastname, these pointers will point to the beginning of the string.
We now use strcpy_s to copy the strings into our Person structure
Then we pass the memory location of where this structure lives to the PrintPerson function.
This function will then take that memory address and carve out the name and lastname again and ultimately print it out. In order to have access to printf we need to include the stdio header file.
That is, in a nutshell how C works.
Let’s take a look at a practical example where we are going to parse NT headers from a process.
The magical world of offsets

Sometimes, you might find yourself in a situation where you do not want or simply can’t just refer to a member of a structure directly. Enter offsets…
Remember in the example structure we have the following:
struct Person {
	char Name[200];
	char LastName[200];

};
It stands to reason that if the first letter of name is position 0, position 200 would be the first letter of our lastname.
Let’s rewrite previous examples printf statements to use offsets instead
#include <windows.h>
#include <stdio.h>
#include "person.h"
#define RVA2VA(Type, DllBase, Rva) (Type)((ULONG_PTR) DllBase + Rva)


void PrintPerson(struct Person *p)
{
	printf("%s ", p);
	printf("%s ",RVA2VA(char*,p,200));
}

int main()
{
	struct Person p;
	char* name = "Jean-Francois";
	char* lastName = "Maes";
	strcpy_s(p.Name, sizeof(p.Name), name);
	strcpy_s(p.LastName, sizeof(p.LastName), lastName);
	PrintPerson(&p);
	return 0;
}
Now we have done something special. We defined a new function RVA2VA (Relative Virtual Address 2 Virtual Address). Essentially this function takes a type (in this case a char* as we know that we are looking for characters thanks to our function definition), a pointer to a memory location (in this case the beginning of the person structure) and a relative virtual address, in this case 200 since we know we have allocated buffers of 200 characters long for both name and lastname. The reason why we use RVA2VA is because just doing p + 200 does not evaluate to the same virtual address location, making you have unwanted outcomes and potentially crashing your program. Big shoutout to my colleague Santiago for helping me realize this 😛
The first printf will start printing all characters it encounters until a null terminator (aka 00 byte, which automatically gets added to our name and lastname)
The second printf will print whatever is 200 bytes away from the pointer we gave (the start of the person structure)


Cleanup Isle 3
Now that we know how to create a structure and reach the members of said structure using direct references and offsets we still need to talk about one more thing…
Cleaning up!
Right now, the Person structure after initialization stays in memory even after we are done using it. For this innocent program that is fine, but for offensive tradecraft we dont want to have information just floating around in our memory.
In order to clean up after ourselves we can call ZeroMemory
Let’s take a look at the artifacts during runtime:
Conclusion
In the first part of this blogpost series we have discussed how to setup a developer env on Windows and Linux to start coding in C. We have also talked about some core concepts such as header files, structures and memory cleanup. Last but not least I have also introduced you to offsets and how you can use them effectively using RVA2VA.
All these concepts will form the building blocks for what is next – an intro to PE file structures in part 2 of this blog!
Last but not least, enjoy the final meme of this blogpost.
Appreciate that, very helpful.
Will be waiting for your next part.
A nice and informative post. Thank you